Everyone agrees that Google is the biggest search engine in the world, and it looks like things won’t change in the near future. And Google dominates the search engine market for a simple, but solid reason: its search results are accurate most of the time, being tailored to the searchers’ specific needs.
Nevertheless, since over 100,000 new websites are being launched each day, Google has to deal with an increasing amount of new data, offering more and more results for a particular topic. This gives us access to more information, but having too many choices can be troubling.
Often times, you will need to use advanced filtering to find a particular image type. So let’s go through all of Google Images’ filters, one at a time.
Let us assume that you are interested in surfing and you’d like to write an article about this particular water sport. You want to incorporate a blue, funny looking picture in your article.
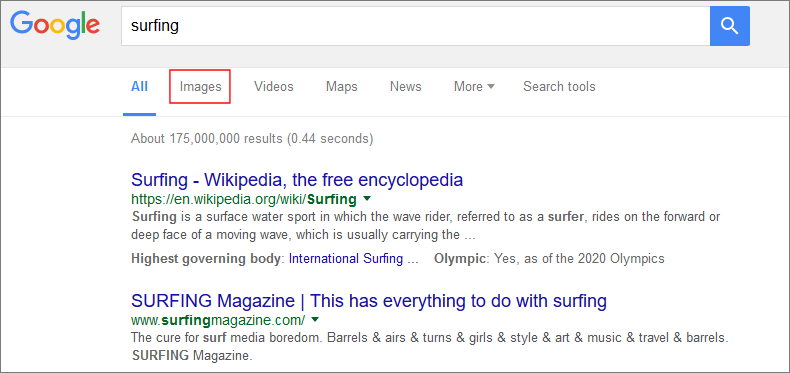
The first step would be to type “surfing” in Google’s search box, and then click the “Images” link from the top menu.
This will display a list with the “surfing” images that are stored in Google’s database.
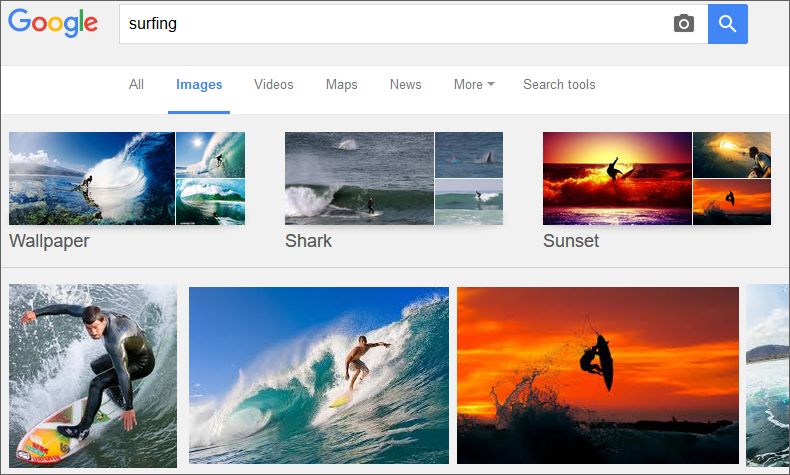
Finding Images That Have a Predominant Color
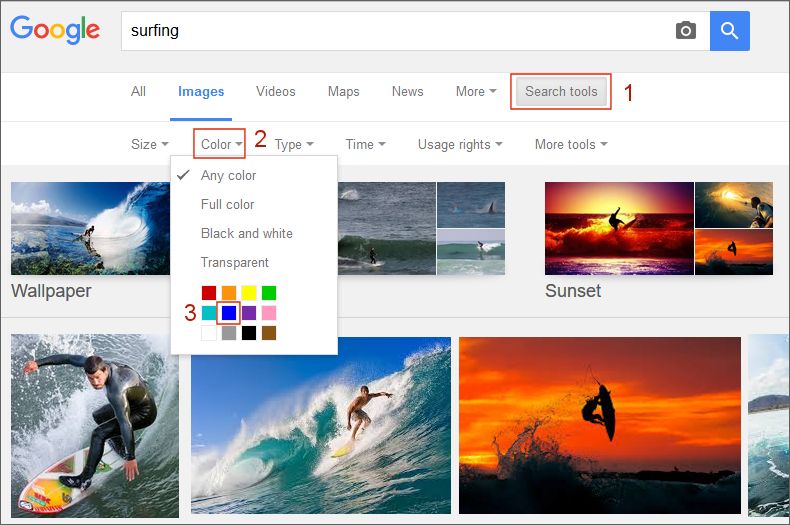
We have gotten quite a few “surfing” pictures, but not all of them have the blue color that we are interested in. Fortunately, Google allows us to search for images that have a predominant color.
Click the “Search tools” button from the top menu, and then choose the desired color.
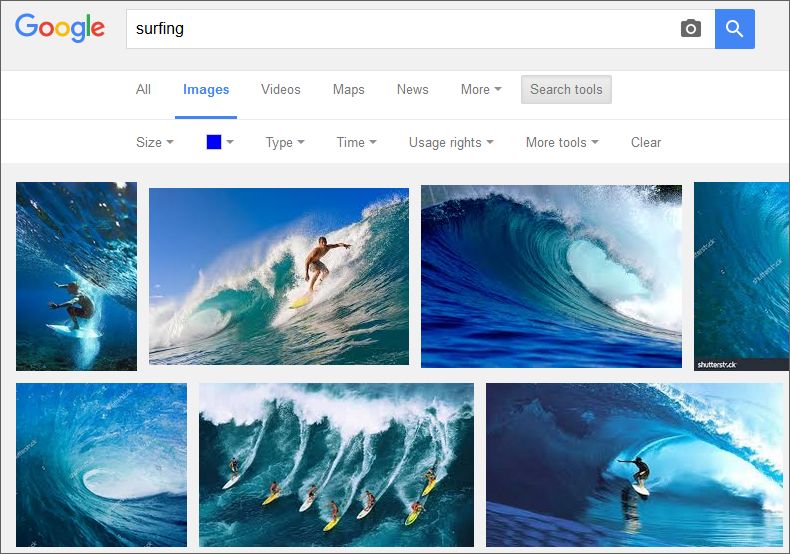
Take a look at the picture below; you will see that Google displays all sorts of surfing-related images that have a predominant blue color now.
Still, we are interested in getting some funny looking surfing pictures, right? Fortunately, Google Images includes that option in its “Search tools” menu as well.
Click the “Type” menu button, and then choose “Clip art”.
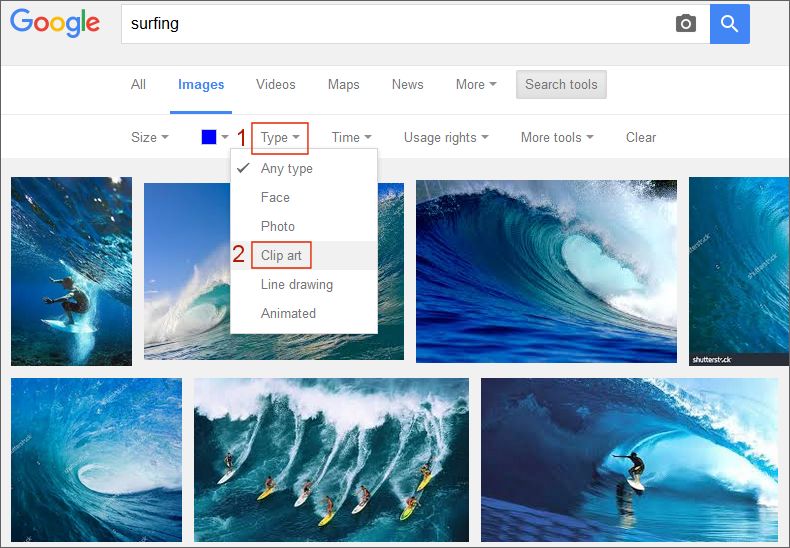
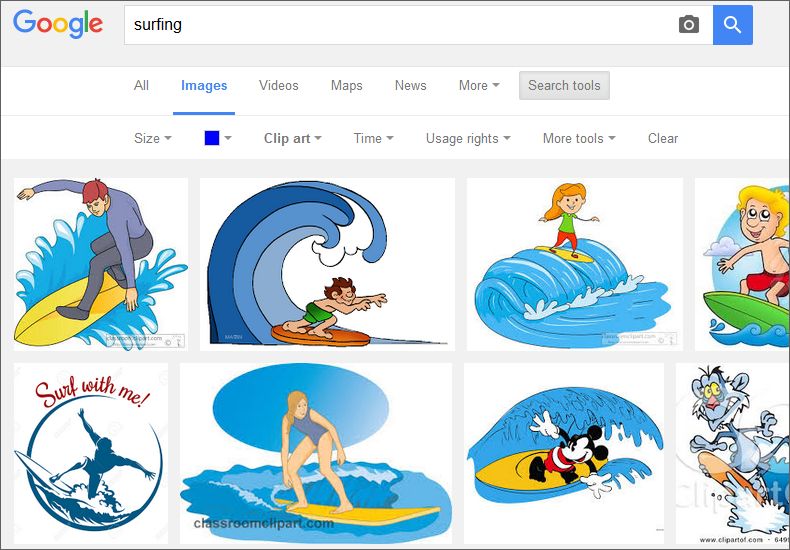
The search results will include several cliparts now.
Discovering Properly Sized Images
Most web pages have an active width of 700…1,200 pixels. This means that Google’s “Large” and “Medium” size options should be good enough for most people’s web related needs.
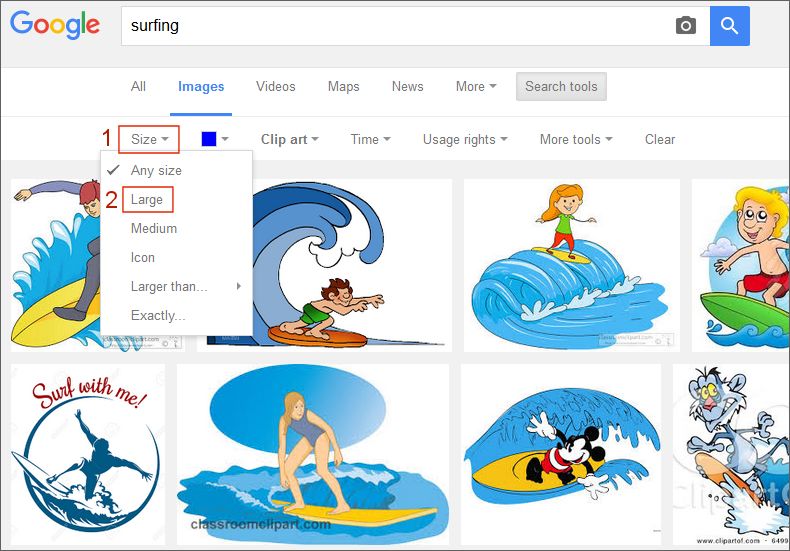
Click the “Size” menu option, and then choose “Large”. The “Larger than…” option will come in handy when you are interested in finding some huge images that can be printed, for example.
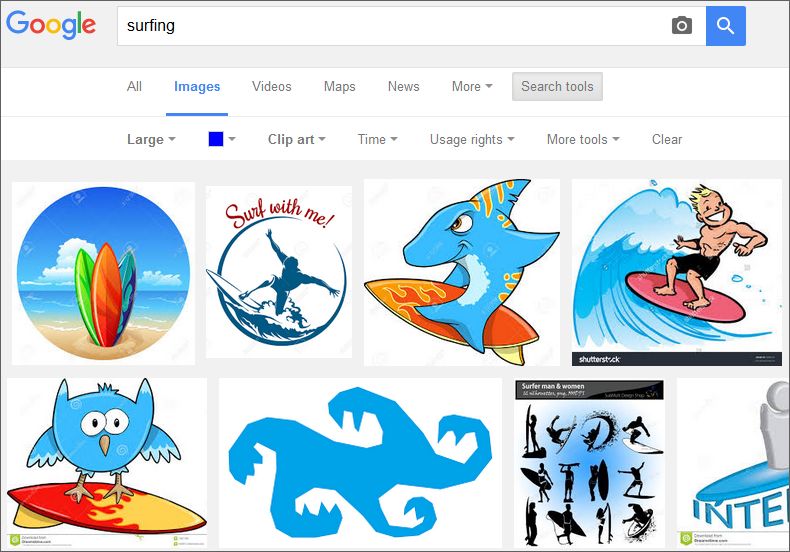
The search results will change once again; Google Images will only display blueish cliparts that have a big resolution this time.
Finding Related Images
Click any image that interests you to open it. Then, you can use the right mouse button to open a contextual menu which allows you to save it. But before doing that, take a good look at the right side of the screen.
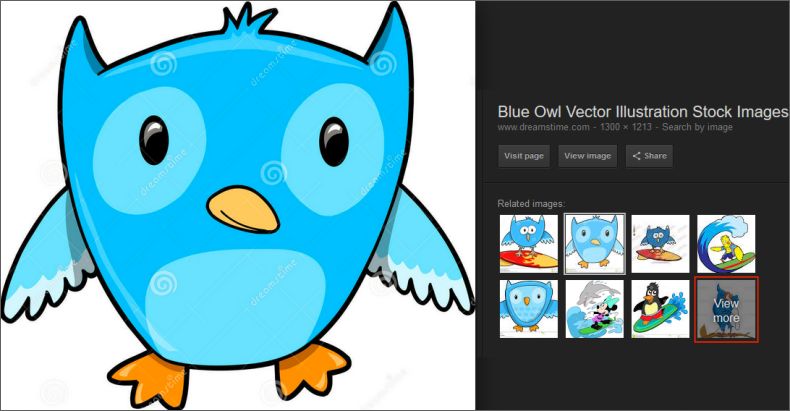
Google will suggest several “related images”, pictures that are similar with the one that interests you. Don’t forget to click the “View more” thumbnail if you want to discover other related images.
Using Royalty-Free Images
What about royalty-free images? Most pictures can be used for personal purposes, but if you intend to share them with others or to include them in projects / products that will be sold, you’ll have to make sure that you aren’t breaking the law.
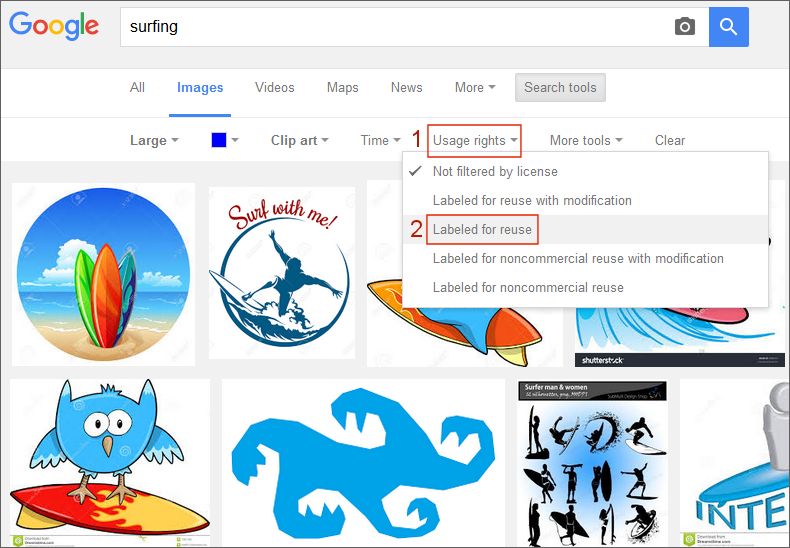
Click the “Usage rights” menu button, and then select the desired option; the search results will be filtered accordingly.
Resetting the Filters
What happens if you have made a mistake and want to start again, using another set of filters? Maybe your image search hasn’t produced relevant results, so you’d like to start over.
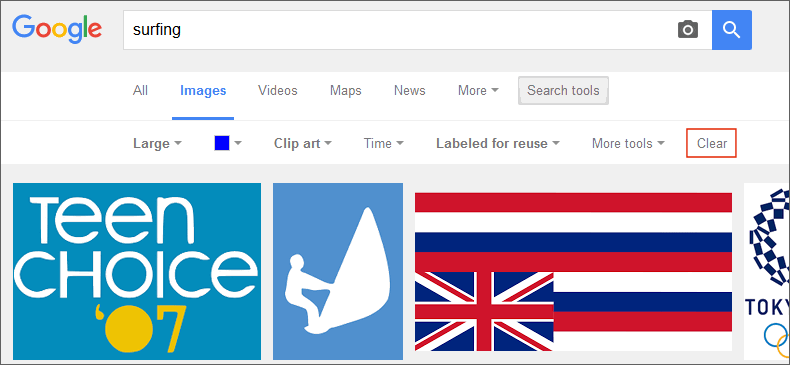
If this is the case, you can remove all the filters (Google calls them “Tools”) by clicking the “Clear” menu button. This button will only be visible when there’s something to clear, of course.
Finding Diagrams and Graphs
Maybe you have already noticed the “Black and white” option in the “Color” menu. It’s the perfect tool for people who are searching for old pictures, diagrams, graphs, and so on.
Let’s pretend that you intend to open a restaurant. How should you set up the restaurant tables, with the goal of using the space properly, and thus maximize your profit?
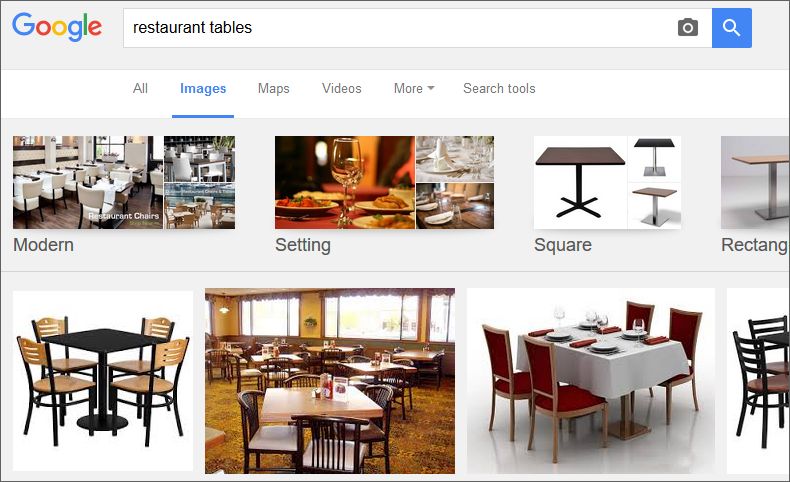
As you can see, a regular search for “restaurant tables” will give us a set of results that aren’t of great interest – we need some diagrams! And since most diagrams use the black and white colors, let’s choose “Black and white” from the “Color” menu; this will increase our chances of stumbling upon something useful.
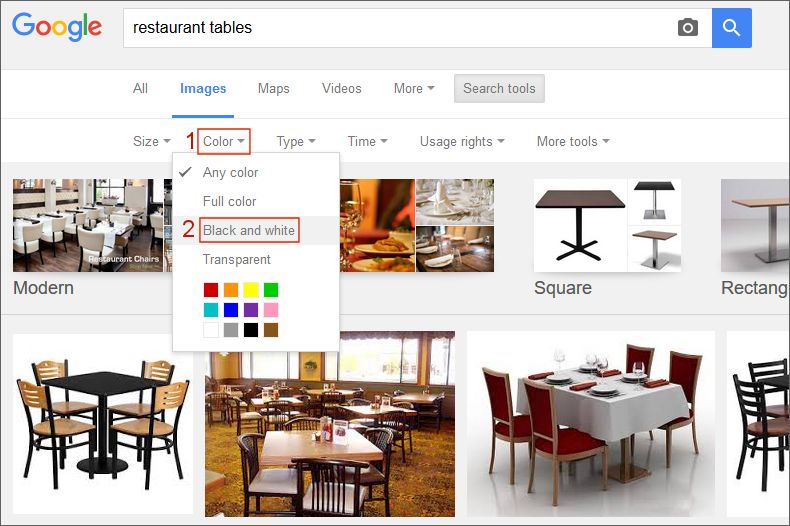
Scroll down until you see a diagram that looks nice, and then click it.
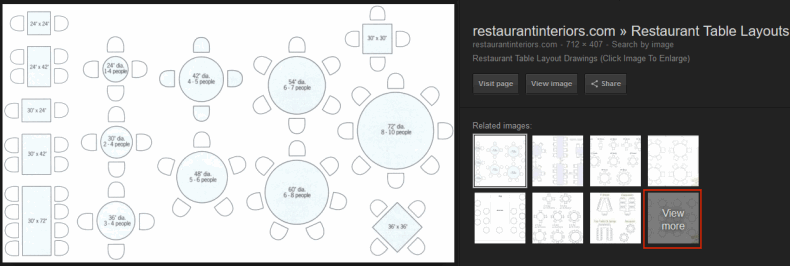
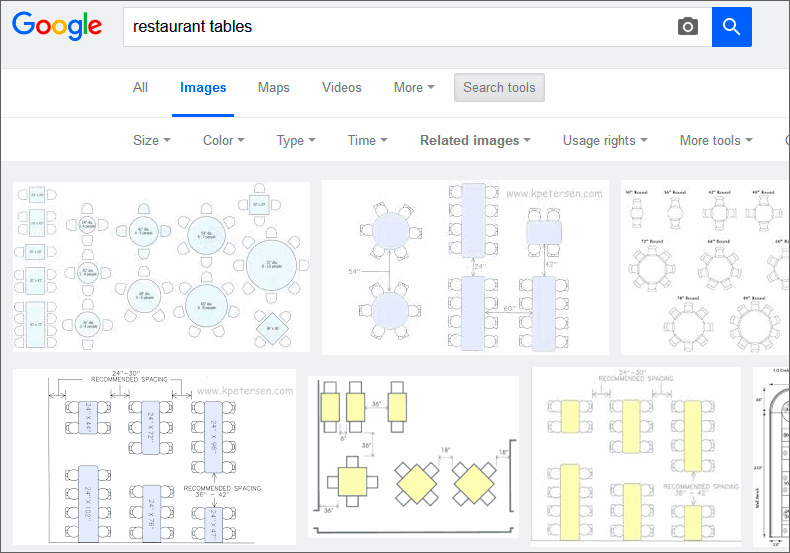
Then, click the “View more” thumbnail to populate the entire search results window with many more related images (diagrams, in this case).
Finding Visually Similar Images
If you already have a picture, you can use Google Images to find pictures that are visually similar with your image, and even find a better quality/higher resolution version of that particular image.
Begin by pointing your browser to the Google Images search page: http://images.google.com/
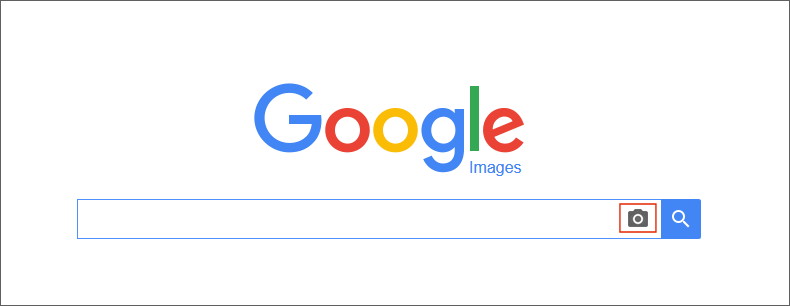
Click the small camera icon near the search button, and then either paste the URL of the image that interests you, or upload it from your computer. You can also drag and drop your image in Google Images’ window.
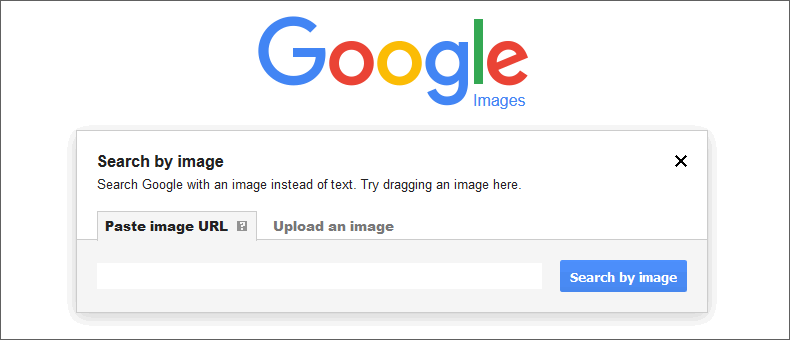
Please be aware that the camera icon will only be visible when you are accessing the Google Images URL; it won’t be available if you go straight to google.com
Upload your picture, and then click the “Search by image” button.
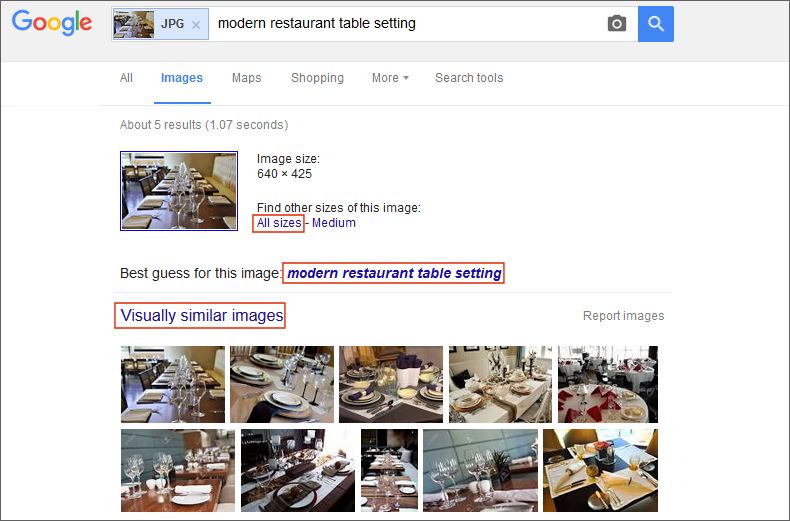
As you can see, Google will return a list with all the search results that contain identical or visually similar images. The “All sizes” option allows you to find higher resolution versions of a particular image – if they are available, of course.
Not only that, but Google will also try and guess what this image is about, and I would say that “modern restaurant table setting” describes my picture quite well.
Finally, this Google Images tool can help you discover is somebody else is using your images without permission. Simply load your image, and then see if Google has discovered it on somebody else’s website.
Using the “Time” Tool
The “Time” menu option allows you to see the images that have been discovered by Google within the last 24 hours, during the past week or any other specified interval.
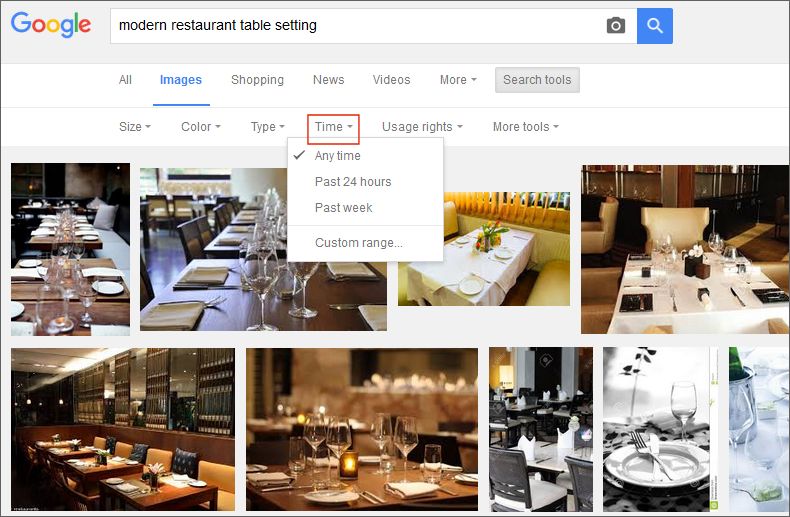
It’s a tool that will come in handy whenever you want to find fresh photos, which have been published within the last 24 hours, for example.
However, the main strength of the “Time” tool is its ability of finding images that have been published on a specific date. Here’s how we should use “Custom range…” to search for pictures of Michael Jackson that were posted on the web on the 25th of June, 2009.
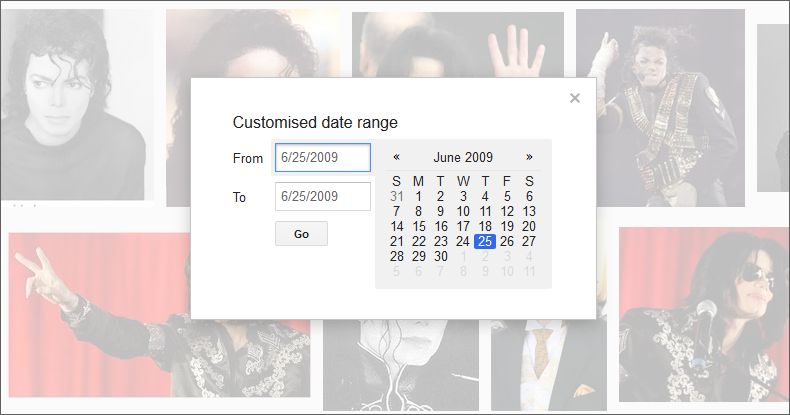
This last tip ends the advanced Google Images search tips and tricks article. Make sure to bookmark it and share it with others; I guarantee that it is going to save you – and them – a lot of time.

